Getting Started from Scratch
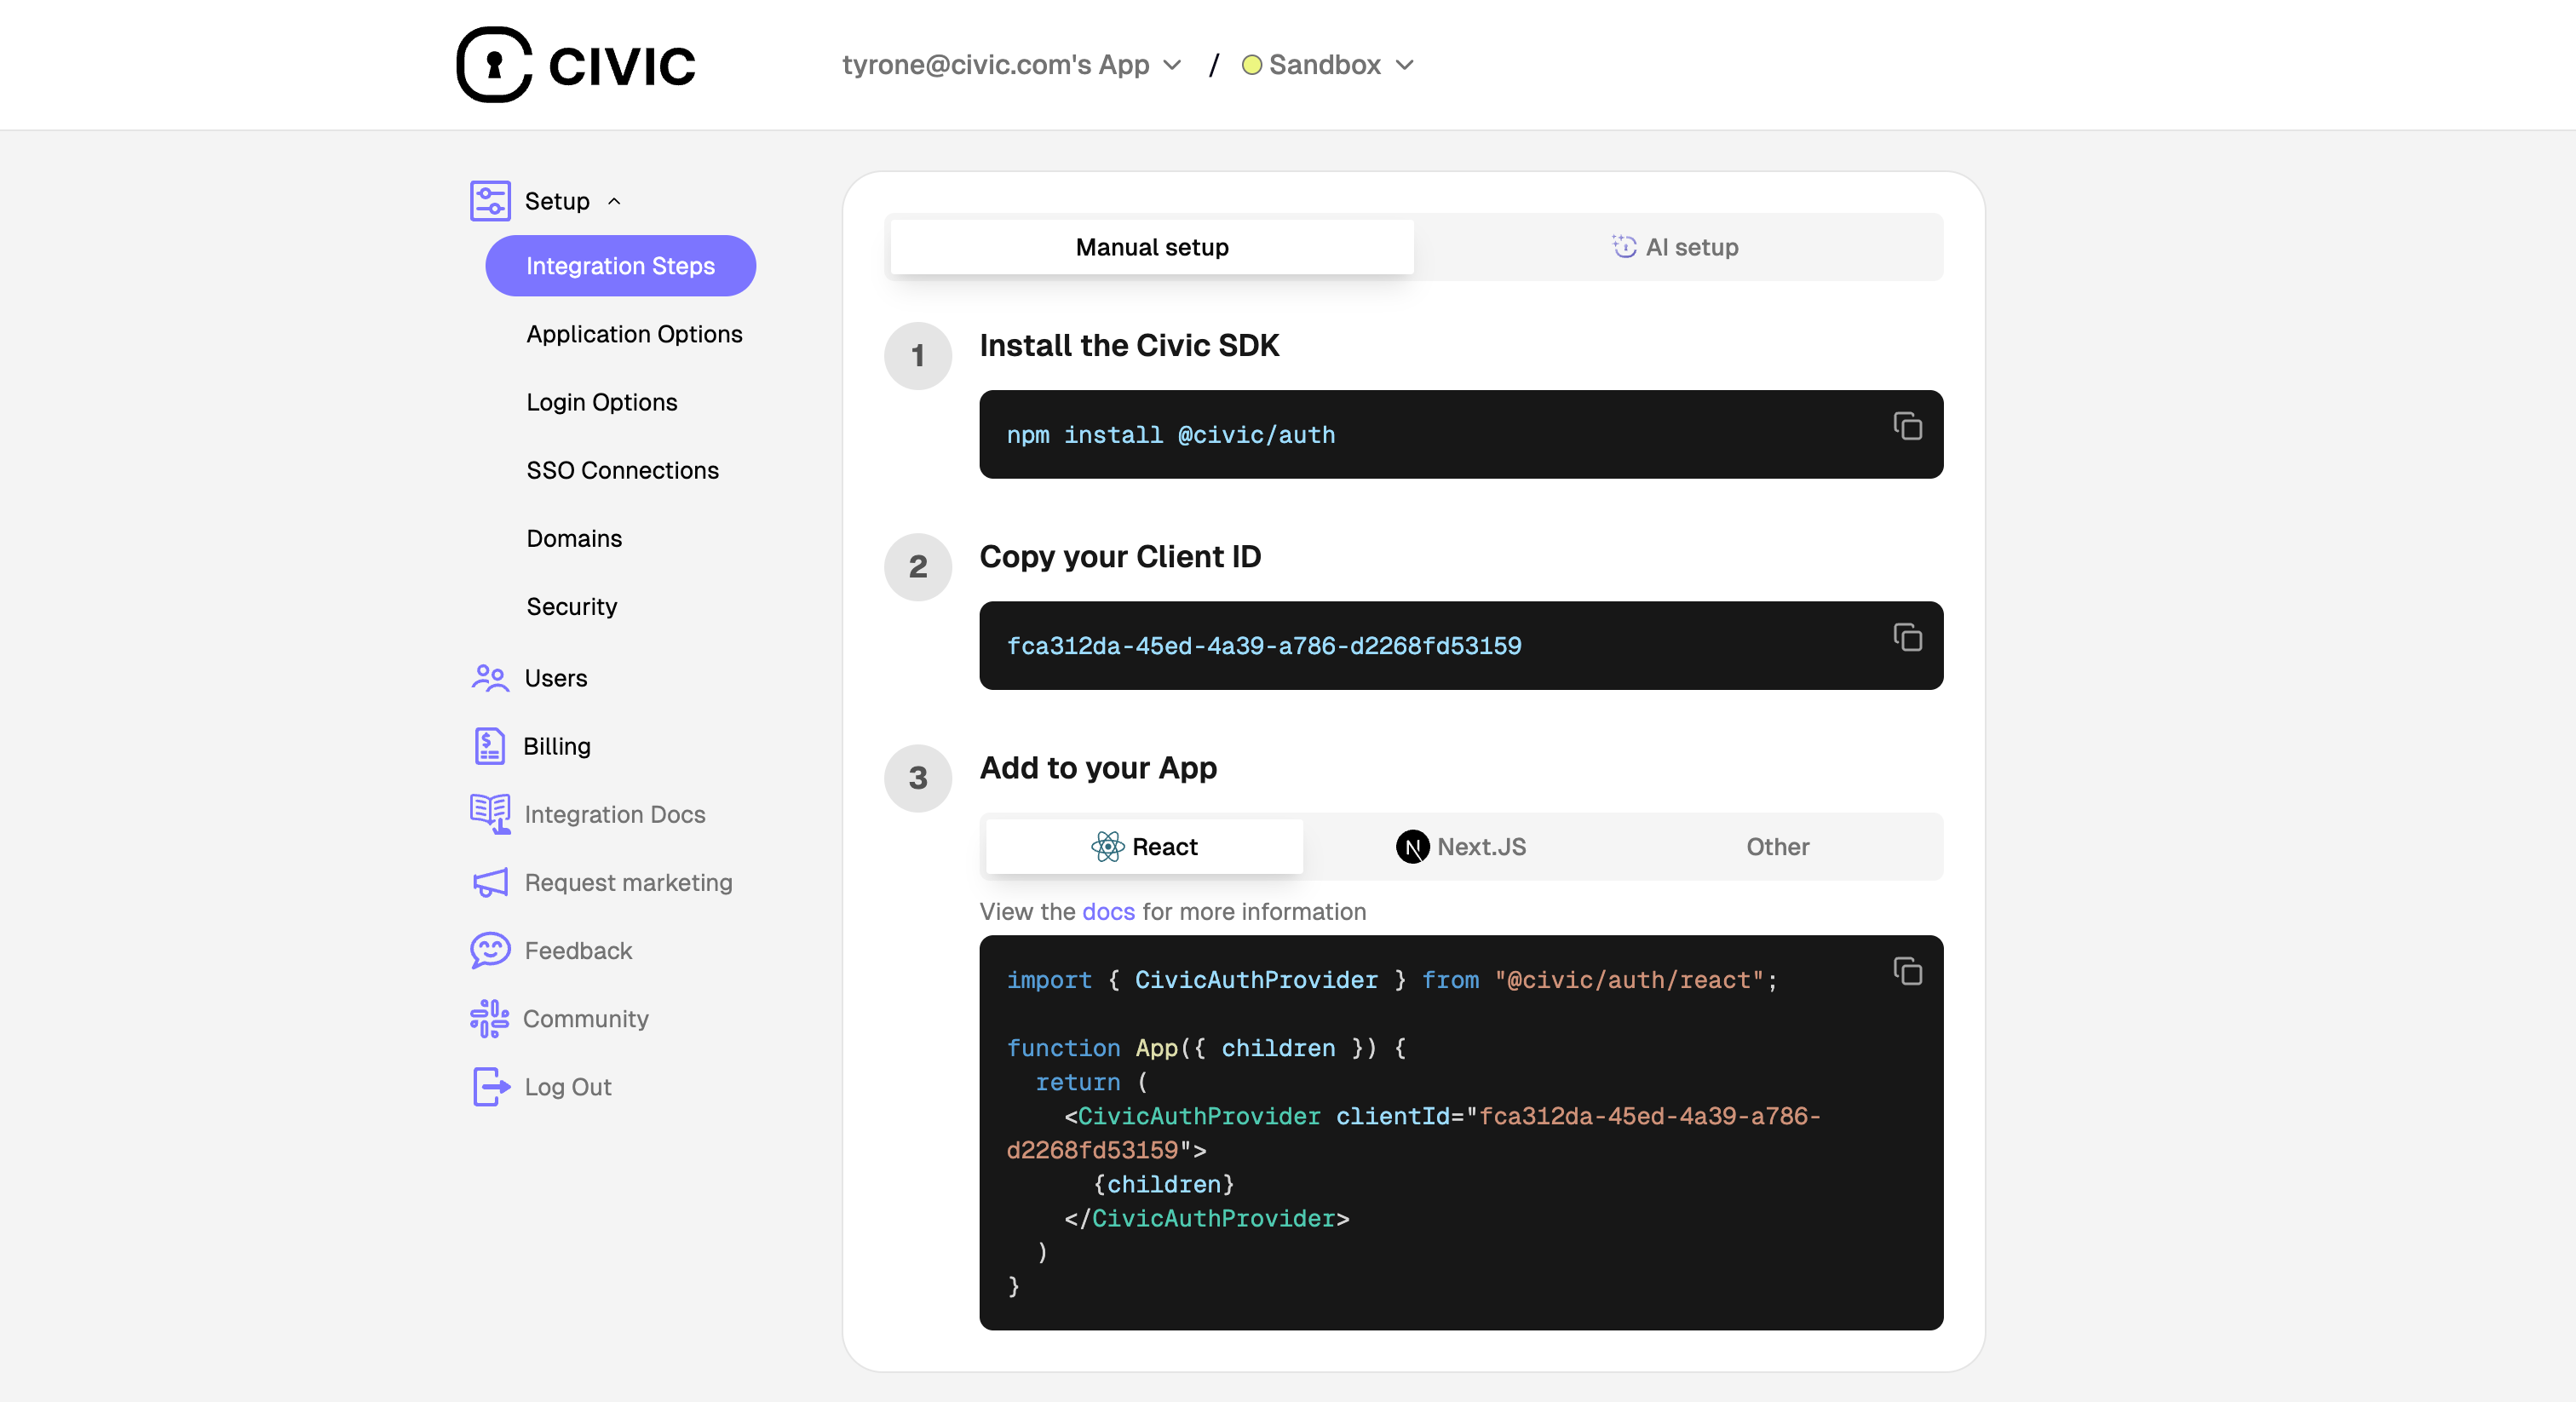
Building a new AI application? Follow these steps in order:Set up Civic Auth login
Use our AI-assisted prompt to quickly integrate Civic Auth into your Next.js app:
Next.js + Civic Auth Setup
AI-assisted setup - Automatically configure authentication in your Next.js project
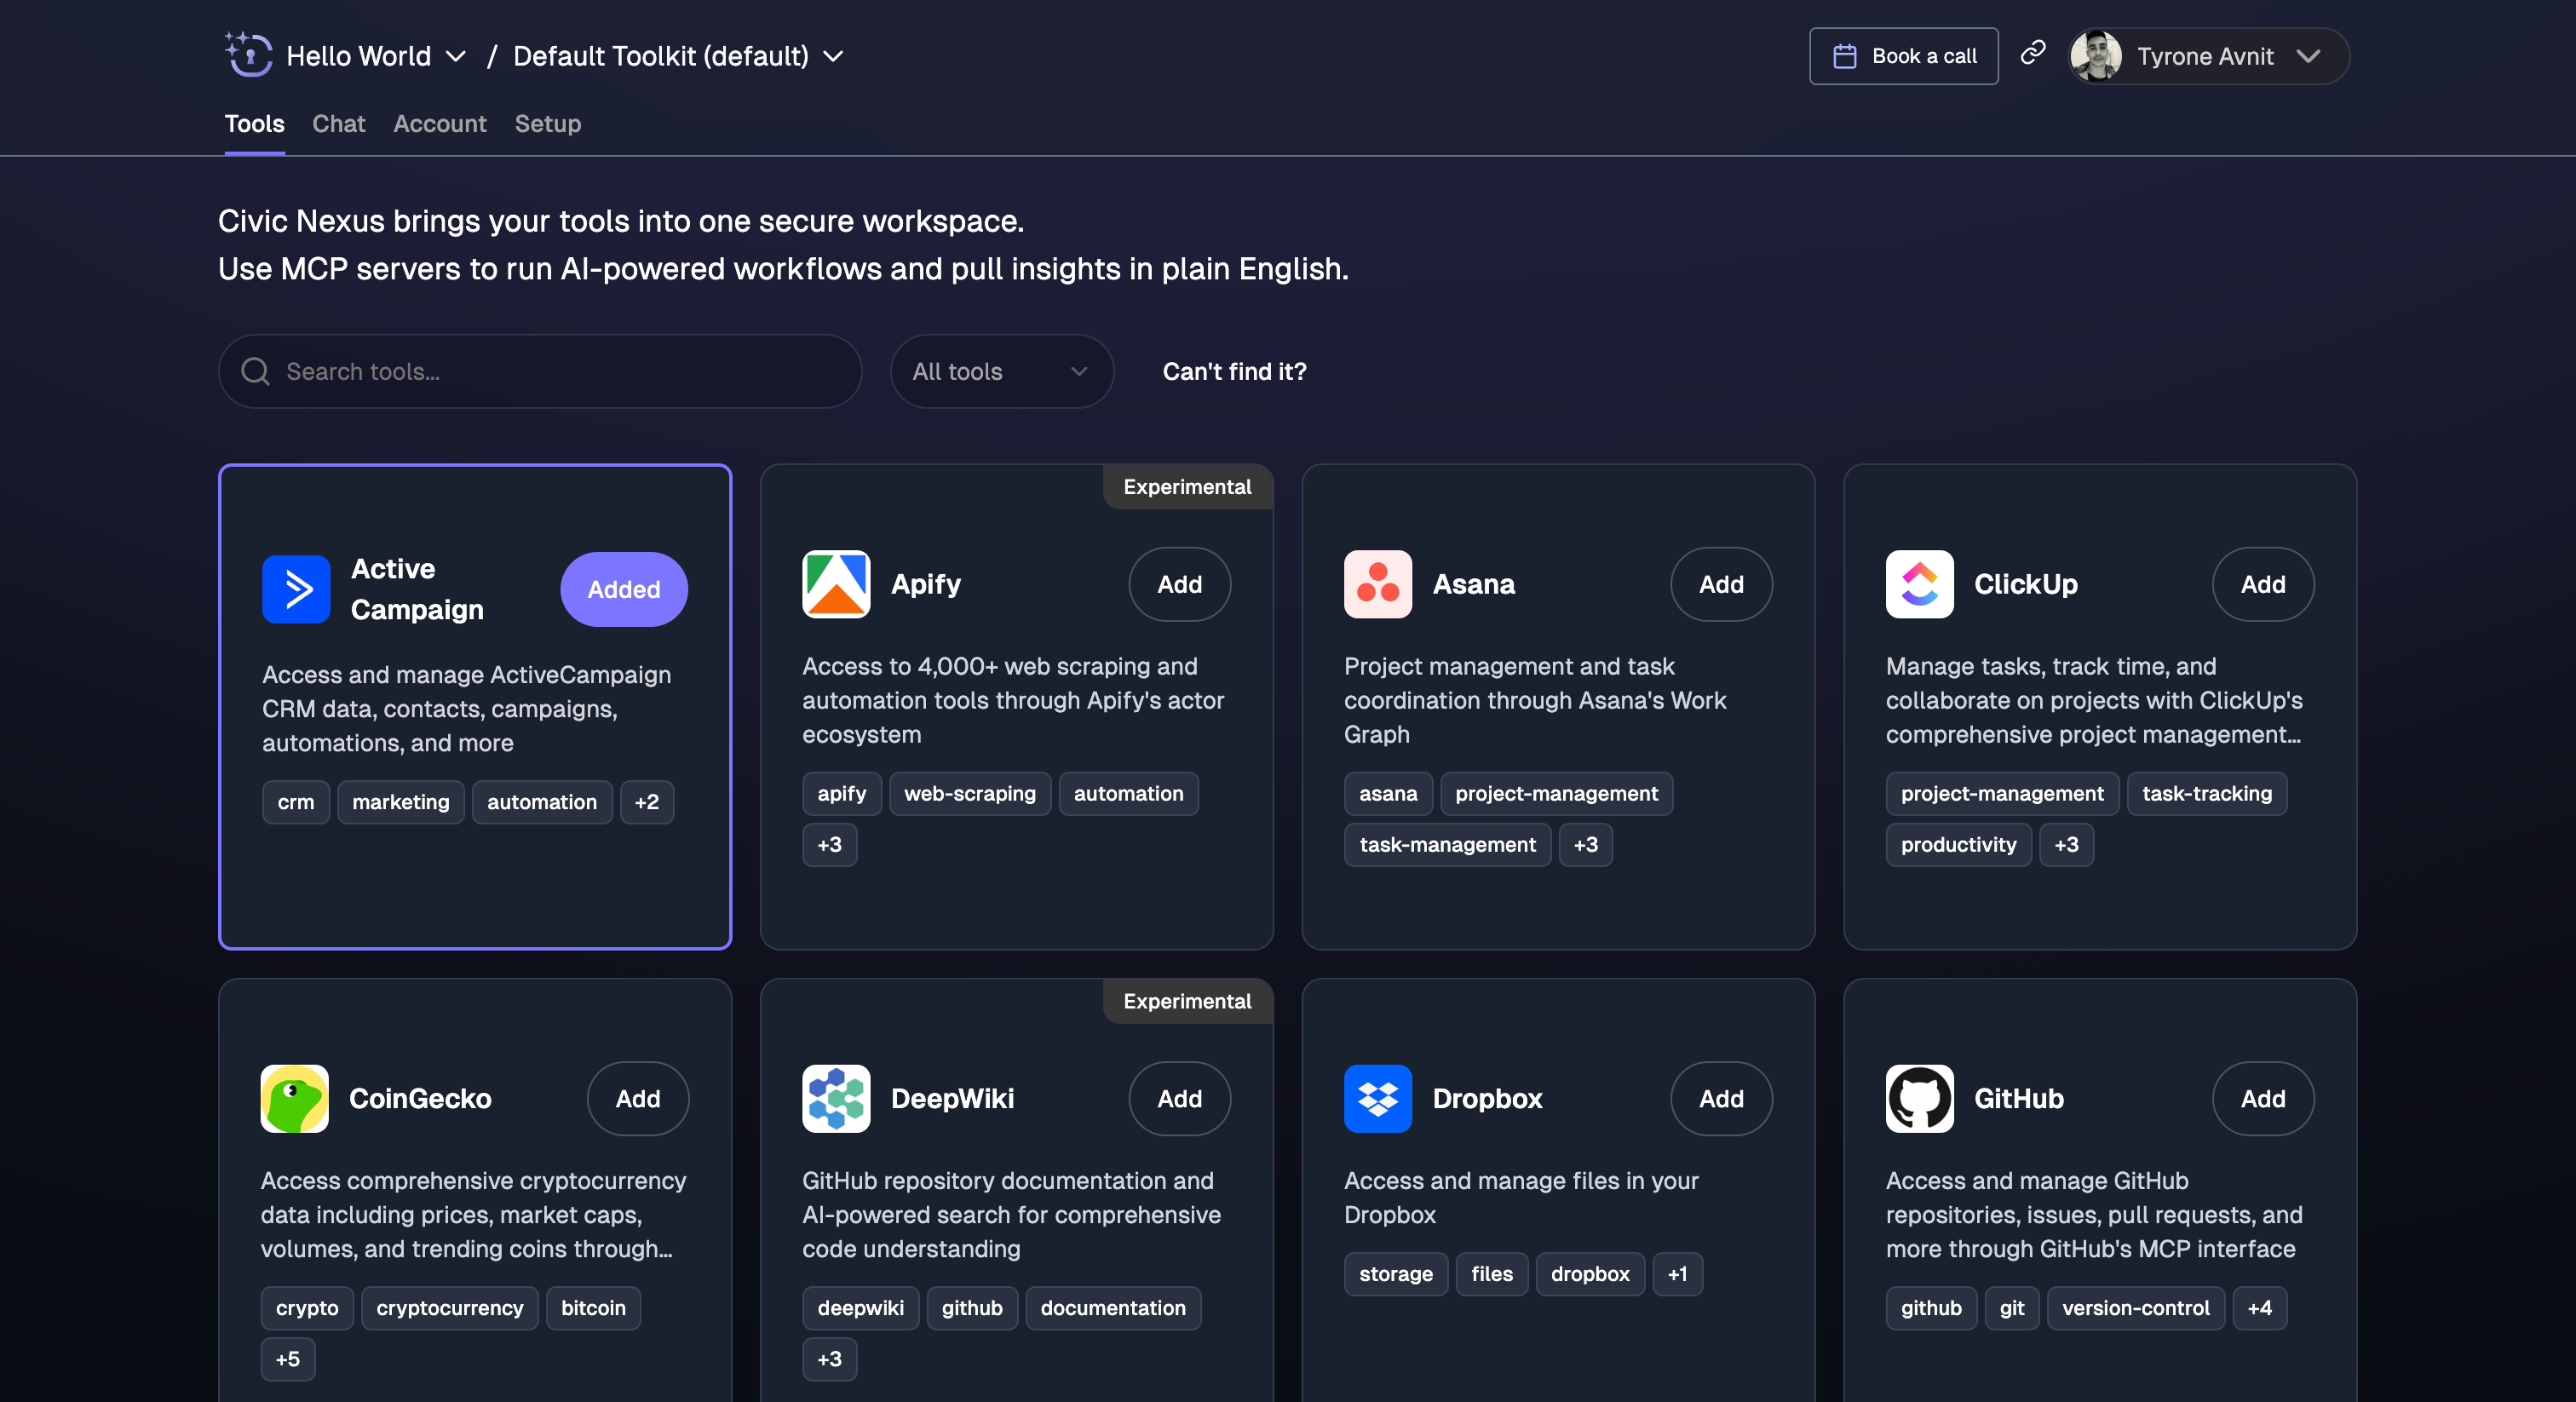
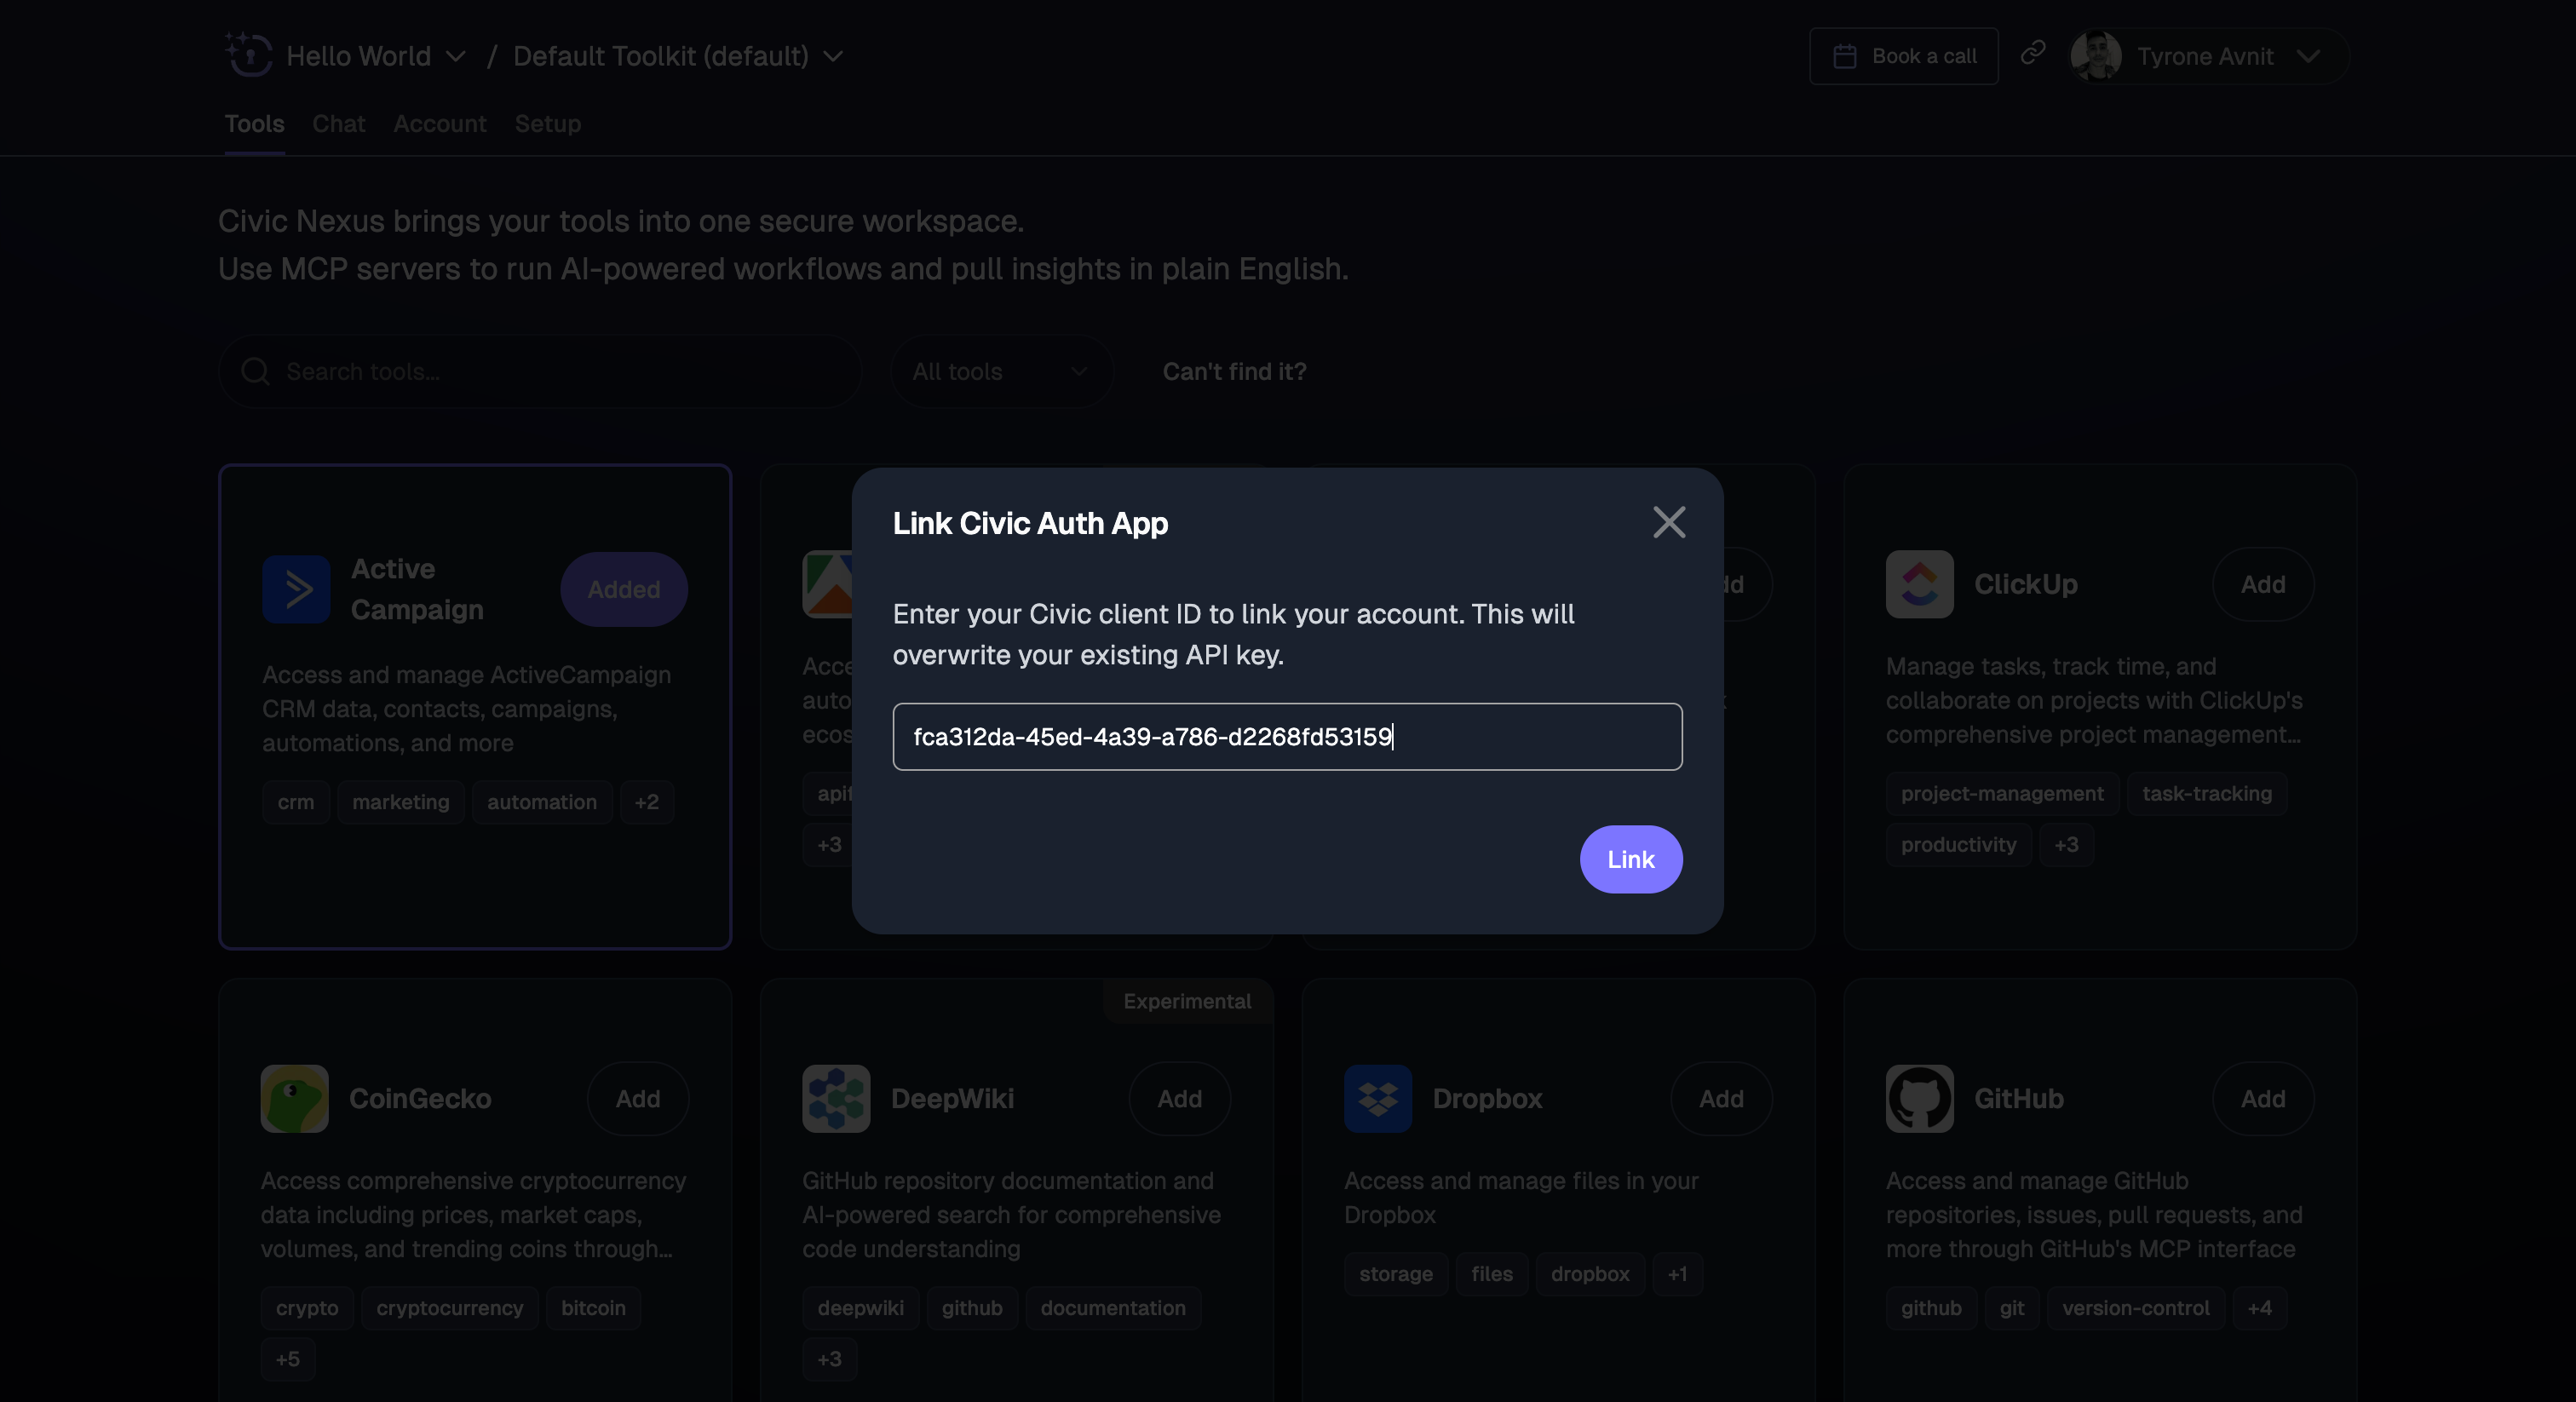
Configure Nexus for your organization
Once authentication is working, set up Nexus to provide tools to your application:a) Visit nexus.civic.com and create your organization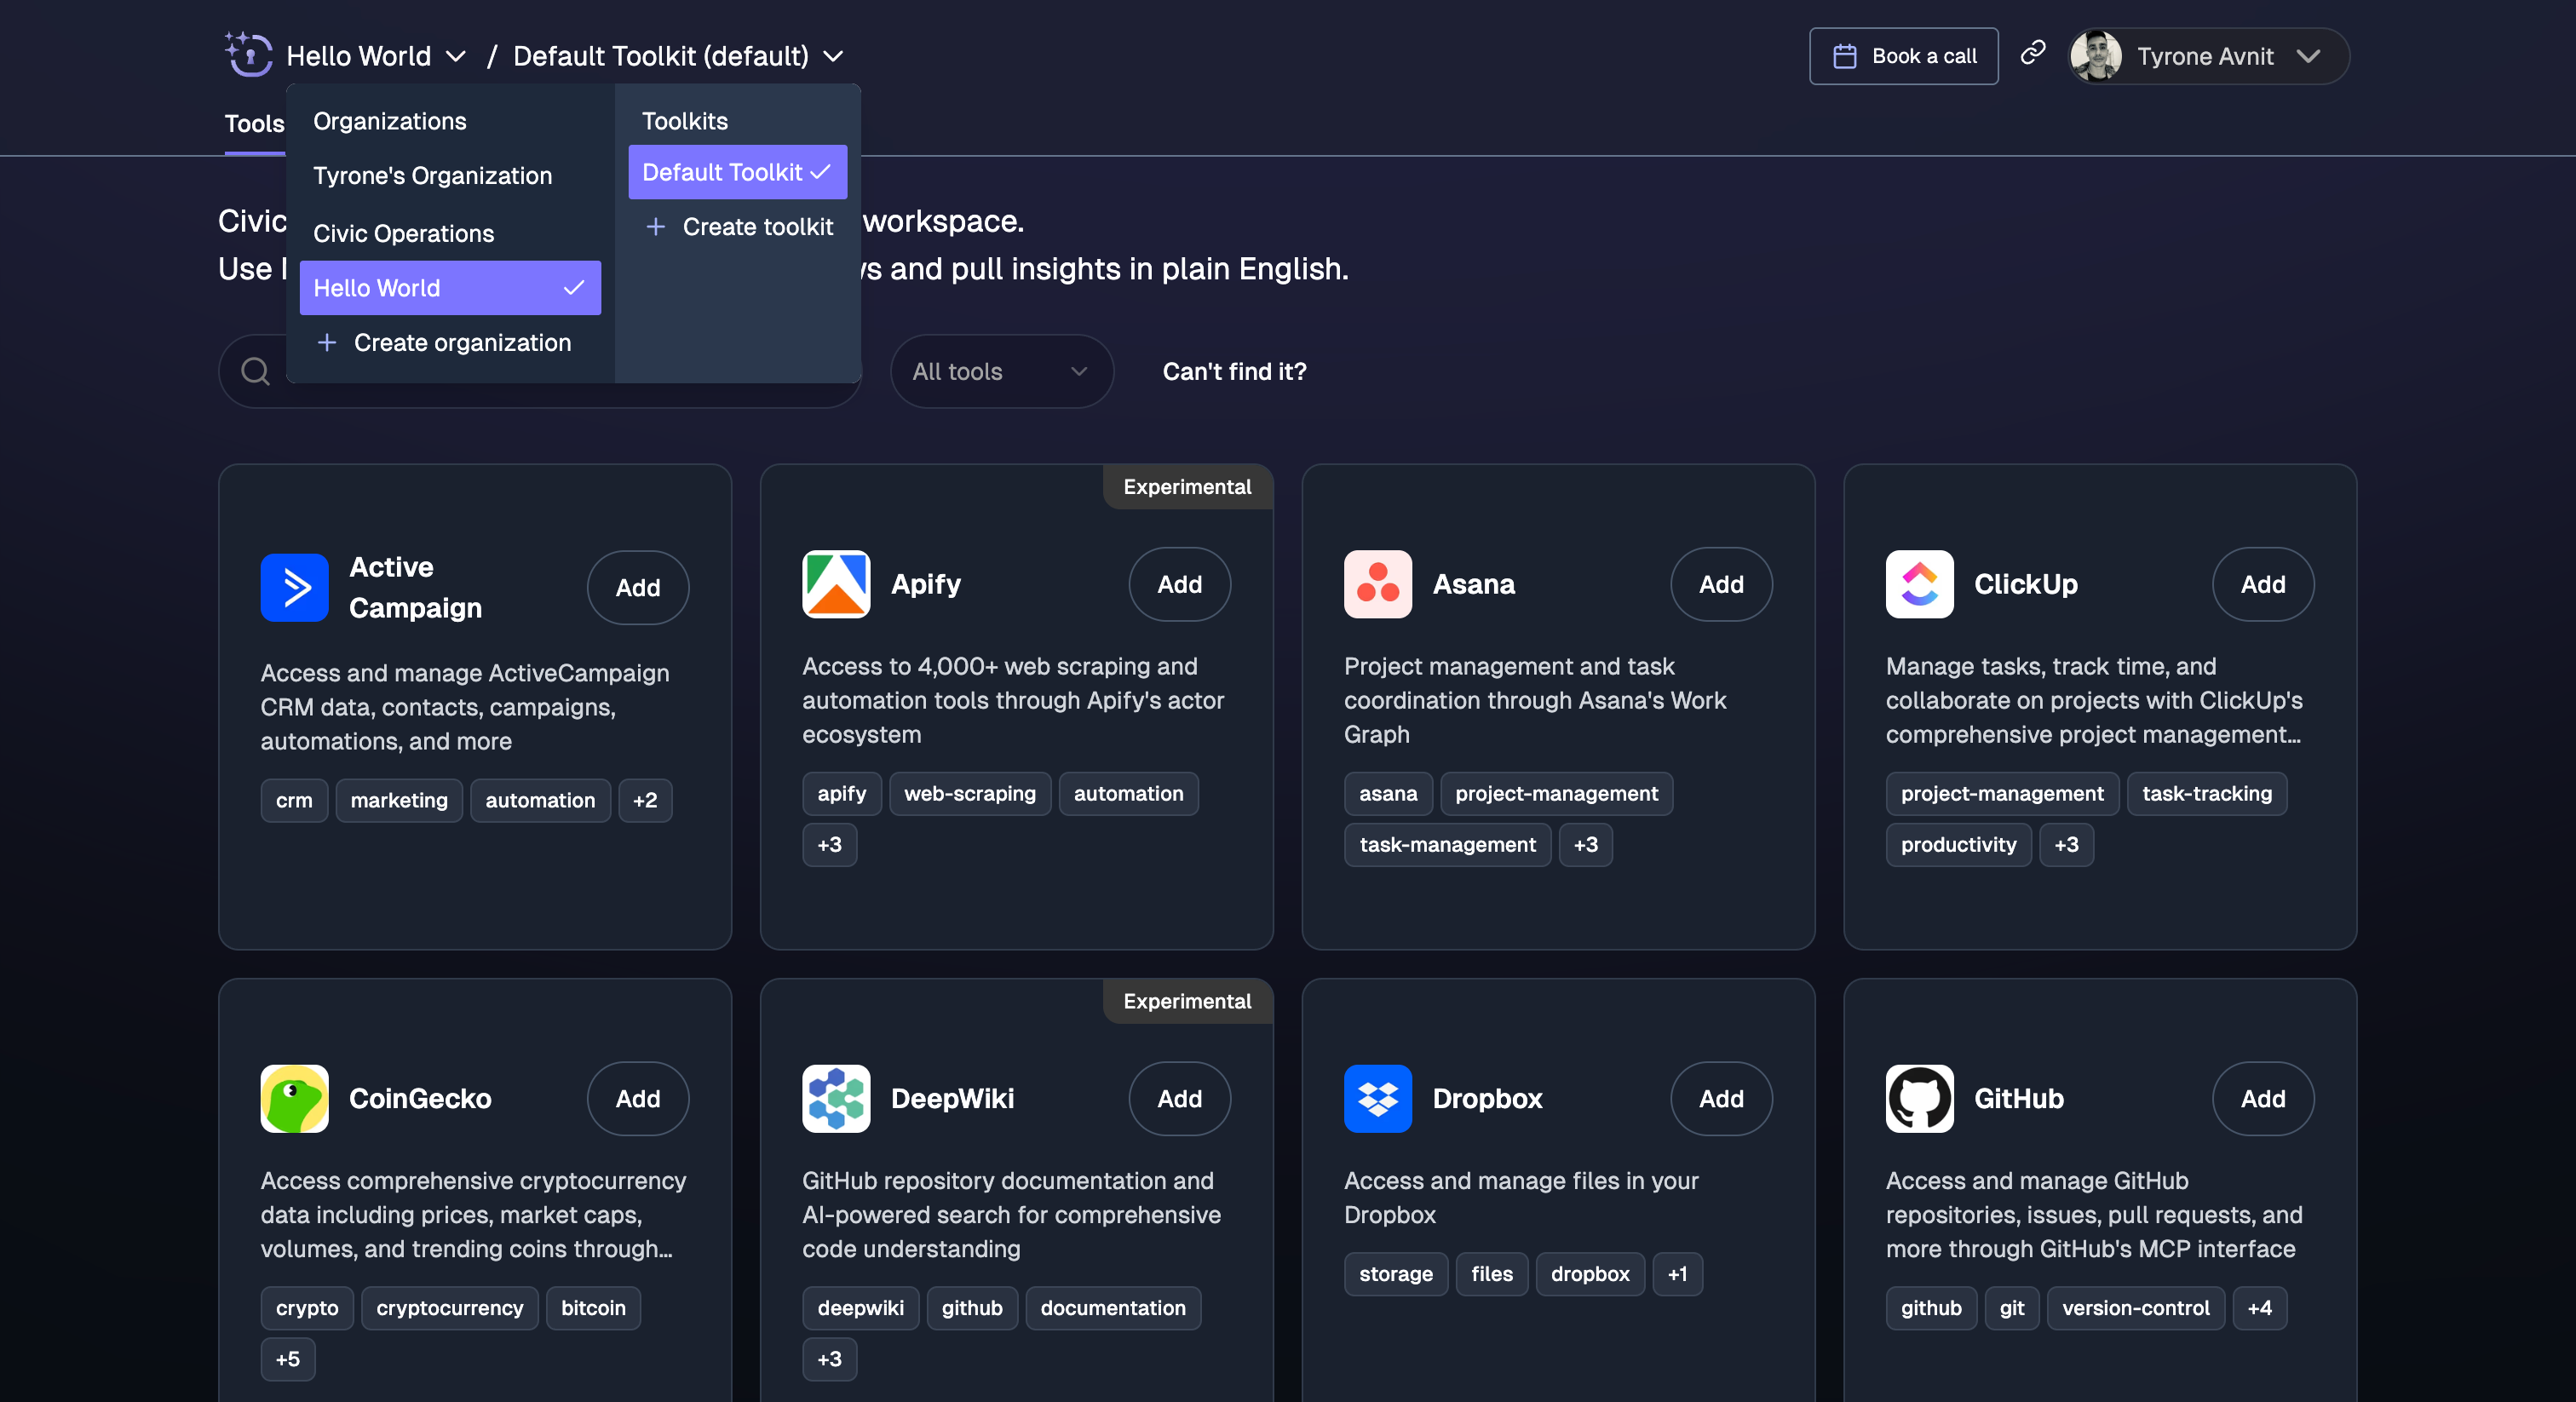

Already have a Next.js app with Civic Auth? Skip to Step 3 to configure Nexus, then choose your SDK integration below.
Choose Your Integration
Once you’ve completed the setup steps above, choose the SDK that matches your stack:Vercel AI SDK
Best for Next.js apps - Streaming support, built for React Server Components
OpenAI SDK (Agents)
Simplest setup - Automatic tool handling with hostedMcpTool()
Anthropic SDK
Native MCP support - Built directly into Messages API
OpenAI SDK
Full control - Manual function calling approach
Python (Pydantic)
Python applications - Type-safe integration with Pydantic
Need help choosing?
- Building a Next.js app? → Vercel AI SDK
- Want the simplest setup? → OpenAI SDK (Agents)
- Using Claude directly? → Anthropic SDK
- Python developer? → Python (Pydantic)
What You’ll Get
All integrations provide:- ✅ Authenticated access to user’s connected tools
- ✅ Automatic tool discovery - No manual configuration
- ✅ Secure token handling - OAuth tokens managed by Civic
- ✅ Real-time access - Tools reflect current user permissions
Need Help?
Join Our Community
Get help from other developers building with Nexus