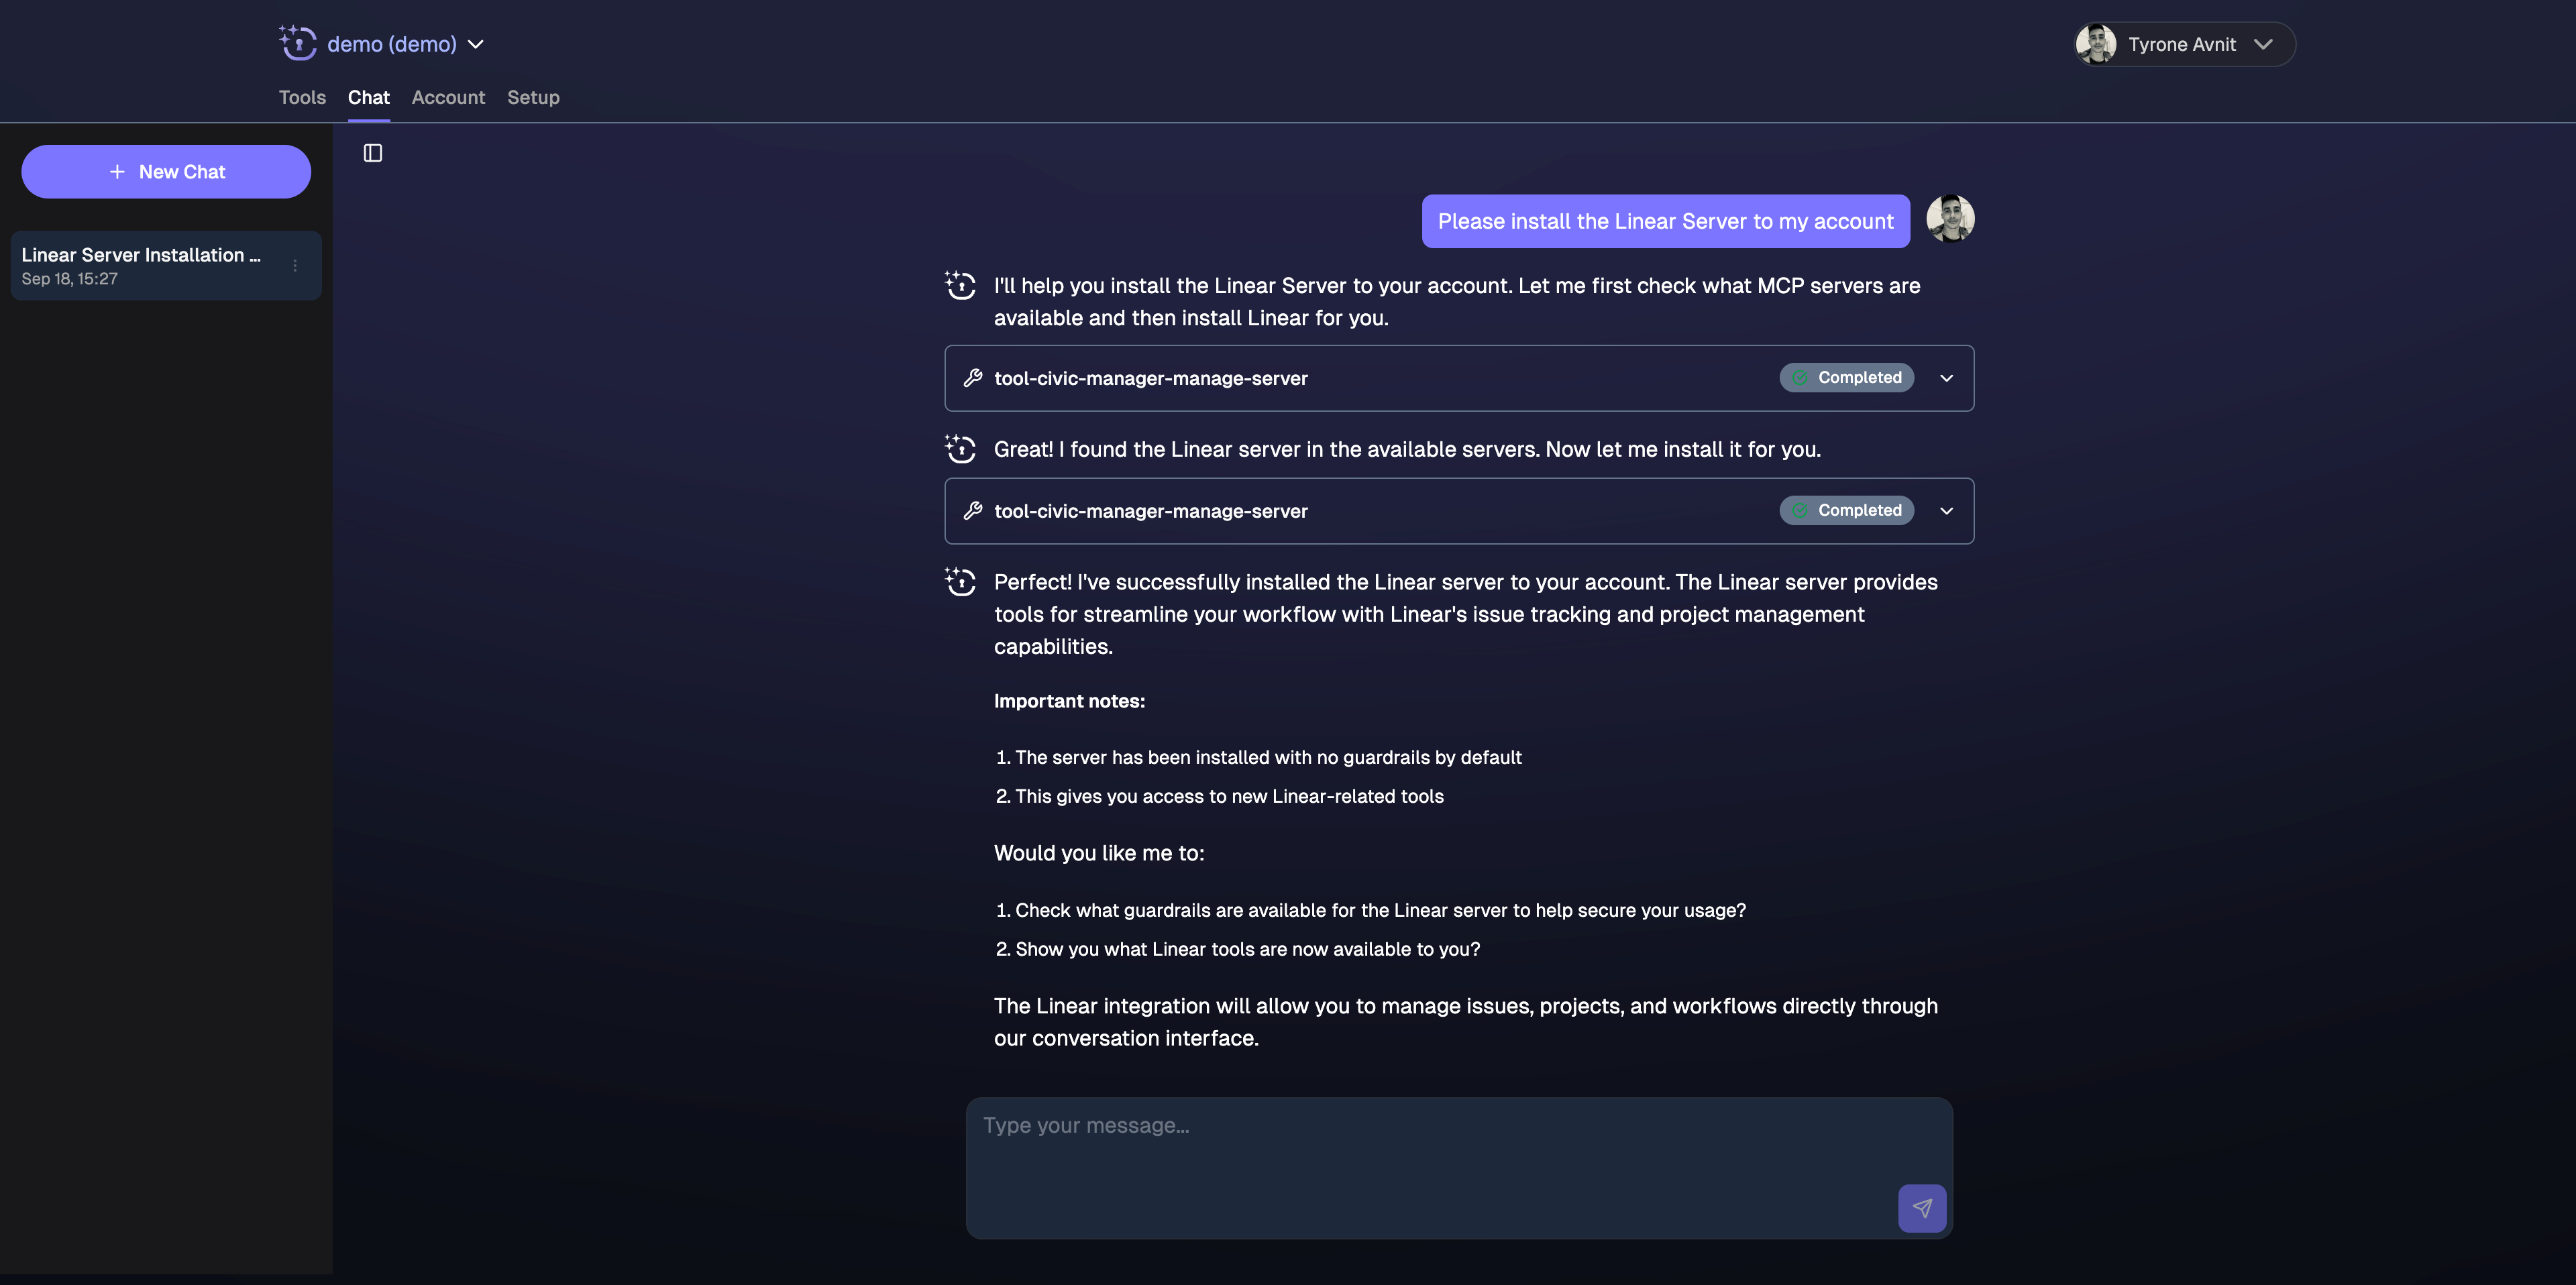
Quick Start: Try It Now (2 Minutes)

Easiest Way: Test Directly in Nexus
Visit nexus.civic.com
Sign up and browse dozens of available MCP servers
Try Nexus Chat Now
Fastest way to get started - No client setup, no configuration, just sign up and start chatting
Optional: Connect External AI Clients
Once you’ve tried it in Nexus chat, connect your favorite AI assistant for convenience:Choose Your AI Client
Primary Option (Recommended)
Try Nexus Chat first - no setup required:Nexus Chat
Zero Setup - Sign up and start using tools immediately (0 mins)
External AI Clients (Optional)
Claude Desktop
Experimental - Direct connector (2 mins)
Claude.ai
Experimental - Web interface (2 mins)
Mistral LeChat
Available Now - Direct connector (2 mins)
Why external clients? While Nexus Chat provides the best experience with zero setup, external clients can be useful for specific workflows or when you prefer a particular AI interface. Claude and Mistral LeChat offer direct MCP connector support with minimal configuration.
Development Tools & Advanced Clients
Developer Setup Guide
Setup guides for Cursor, VS Code, JetBrains IDEs, and other development tools
All Other Supported Clients
Cursor
AI code editor • 3 mins
VS Code
Popular IDE • 3 mins
JetBrains IDEs
IntelliJ, PyCharm • 5 mins
Windsurf
Codeium AI IDE • 5 mins
Goose
Block’s dev agent • 5 mins
More...
See all supported clients
Two Setup Methods
Direct Connection (Recommended for Chat)
For: Nexus Chat (built-in) The best method for getting started:- Visit nexus.civic.com and select tools
- Click “Chat” to start using tools immediately
- No configuration, authentication handled automatically
- ✅ Zero setup required
- ✅ All tools available instantly
- ✅ No client installation needed
- ✅ Works across all devices and browsers
Direct Connector (External Clients)
For: Claude Desktop, Claude.ai, Mistral LeChat For users who prefer external AI clients:- Visit nexus.civic.com and select tools
- Copy the MCP URL:
https://nexus.civic.com/hub/mcp - Add as a custom connector in your AI client settings
- ✅ Specific workflow preferences
- ✅ Integration with existing toolchains
- ✅ Works across all devices
- ✅ Automatic updates and maintenance
Hub Bridge (Development Tools)
For: Cursor, VS Code, JetBrains, Windsurf, CLI tools Development tools use the Hub Bridge - a local proxy that handles authentication:Developer Setup Guide
Complete setup instructions for all development tools including Cursor, VS Code, JetBrains IDEs, and command-line clients
- Your client only supports local/stdio MCP servers
- You need project-level configuration control
- You’re working with development environments
- Your client doesn’t support remote MCP URLs
Start with Nexus Chat first - Get familiar with available tools and capabilities in our built-in interface, then connect external clients if needed for specific workflows.
What You Can Do
Once connected, ask your AI assistant to use your tools: Development workflows:- “Check my open GitHub pull requests”
- “Create a new issue for the login bug”
- “Show me recent commits in the feature branch”
- “Summarize today’s Slack messages in #general”
- “Send a message to the team about deployment”
- “What files did I upload to Dropbox this week?”
- “Create a new page in our Notion workspace”
Next Step: Organize with Toolkits
Instead of giving your AI access to all tools at once (which can confuse it), create focused tool groups for specific workflows:Marketing Analytics
Google Analytics + Notion + Slack for data analysis and reporting workflows
Developer Debugging
GitHub + PostgreSQL + Notion for investigating and documenting issues
Learn About Toolkits
Improve AI performance - Create focused tool groups that help your AI choose the right tools for each task

