Claude.ai web interface supports direct MCP server connections. You’ll need a Claude Pro or Team plan to access MCP connectors.
Prerequisites
Claude Pro/Team Plan
MCP connectors require a paid Claude subscription
Civic Account
Create a free account on app.civic.com
Step 1: Set Up Your Civic Account
If you haven’t already, create your account and select your tools at app.civic.com:Create a free Civic account
Go to app.civic.com and sign in with Google, GitHub, or email.
Select your MCP servers
During onboarding, choose which services you want your AI to access — GitHub, Slack, Google Workspace, Dropbox, and more. This creates your default toolkit.
The MCP URL (
https://app.civic.com/hub/mcp) is the same for every Civic user. What makes it yours is authentication — when you click Connect in Claude.ai, a browser window opens to app.civic.com and links that session to your account and toolkit.Step 2: Add MCP Server in Claude.ai
Open Claude.ai Settings
- Go to claude.ai in your web browser
- Click on Settings (usually in the bottom left or profile menu)
- Navigate to Connectors
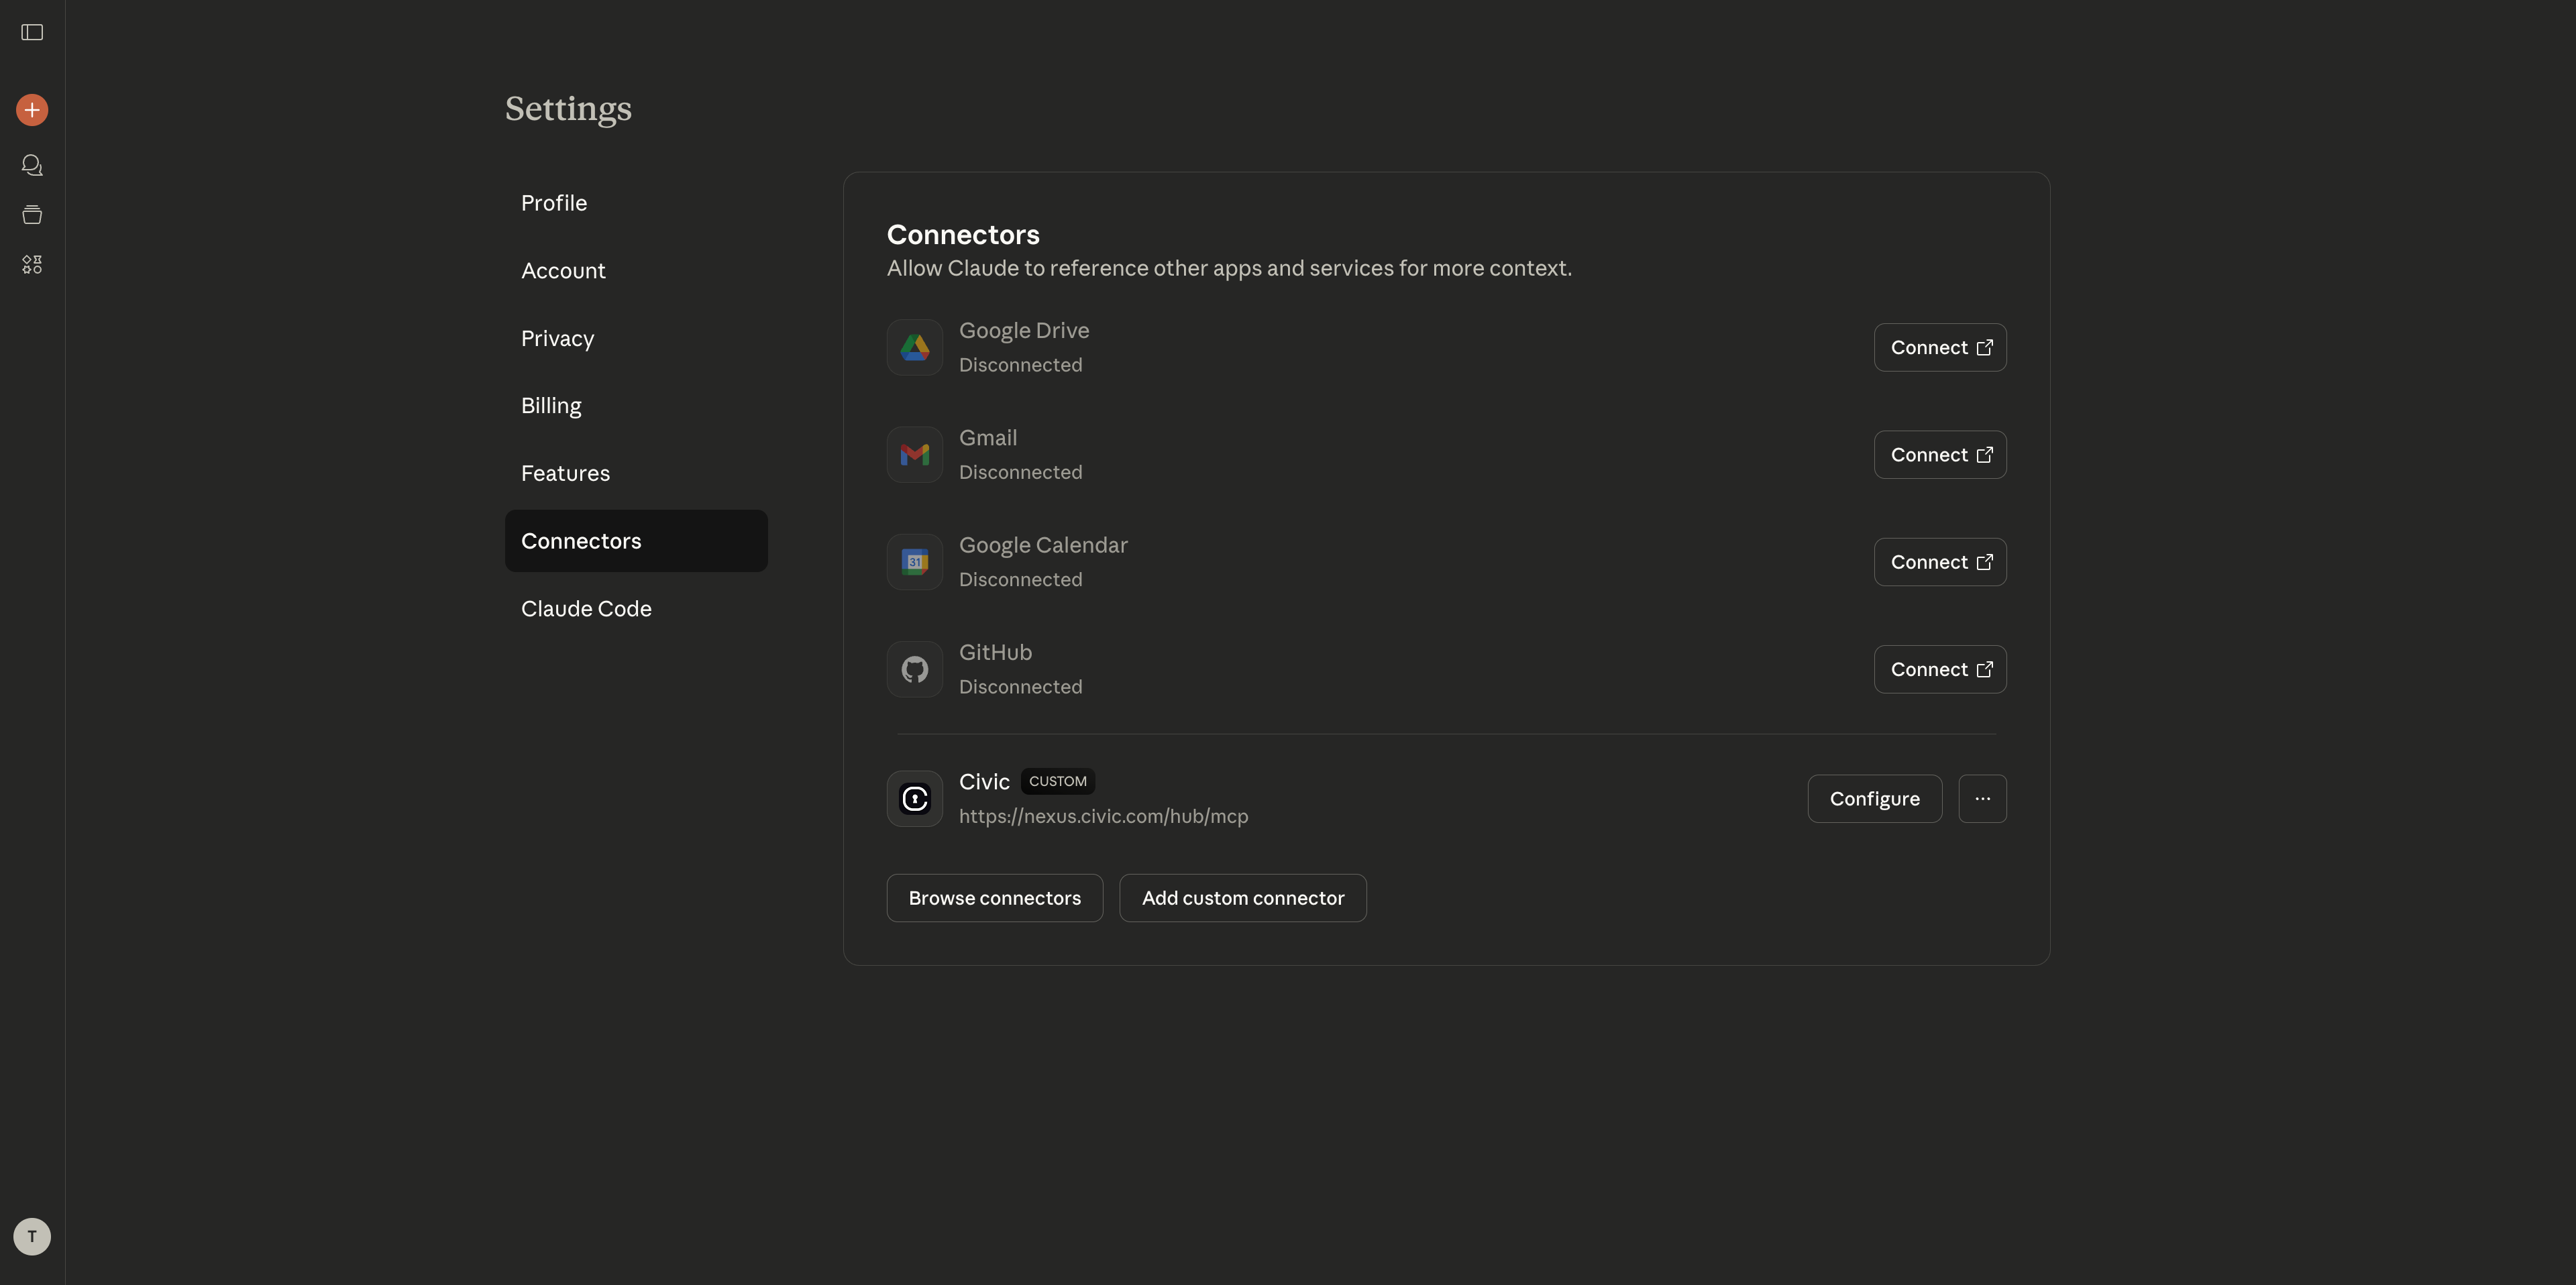
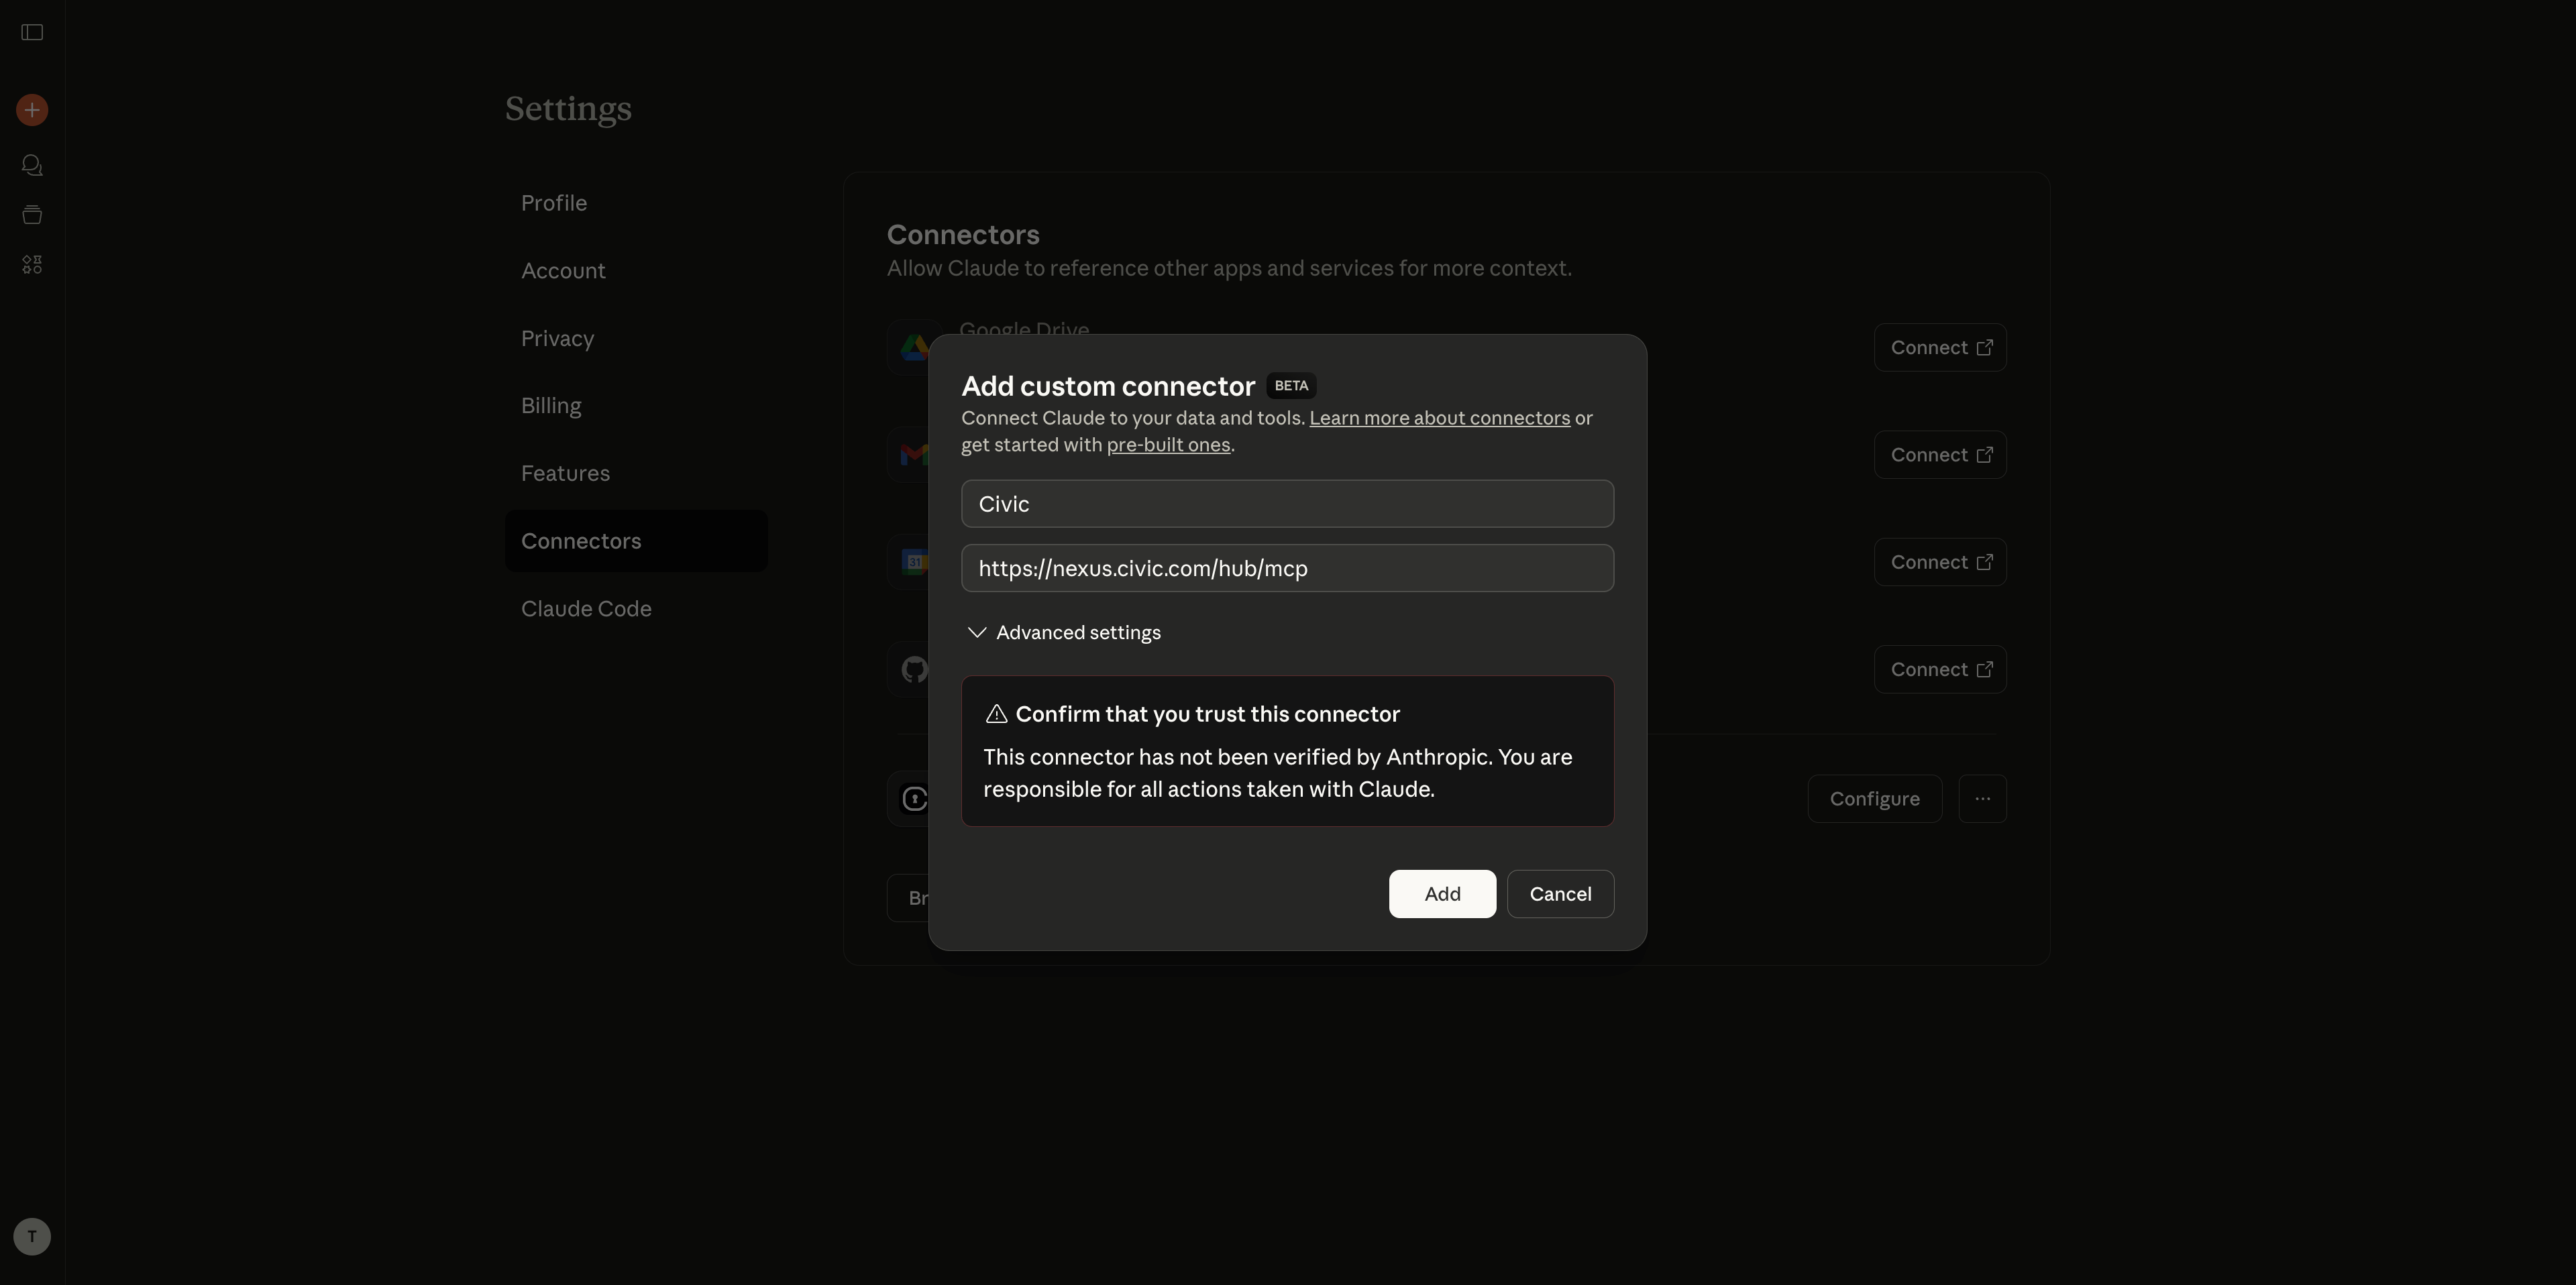
Add Custom Connector
- Click “Add Custom Connector”
- Enter a name: “Civic”
- In “Remote MCP server URL” field, paste:
https://app.civic.com/hub/mcp - Click “Add” to confirm
Step 3: Test Your Connection
Try these commands to verify everything is working: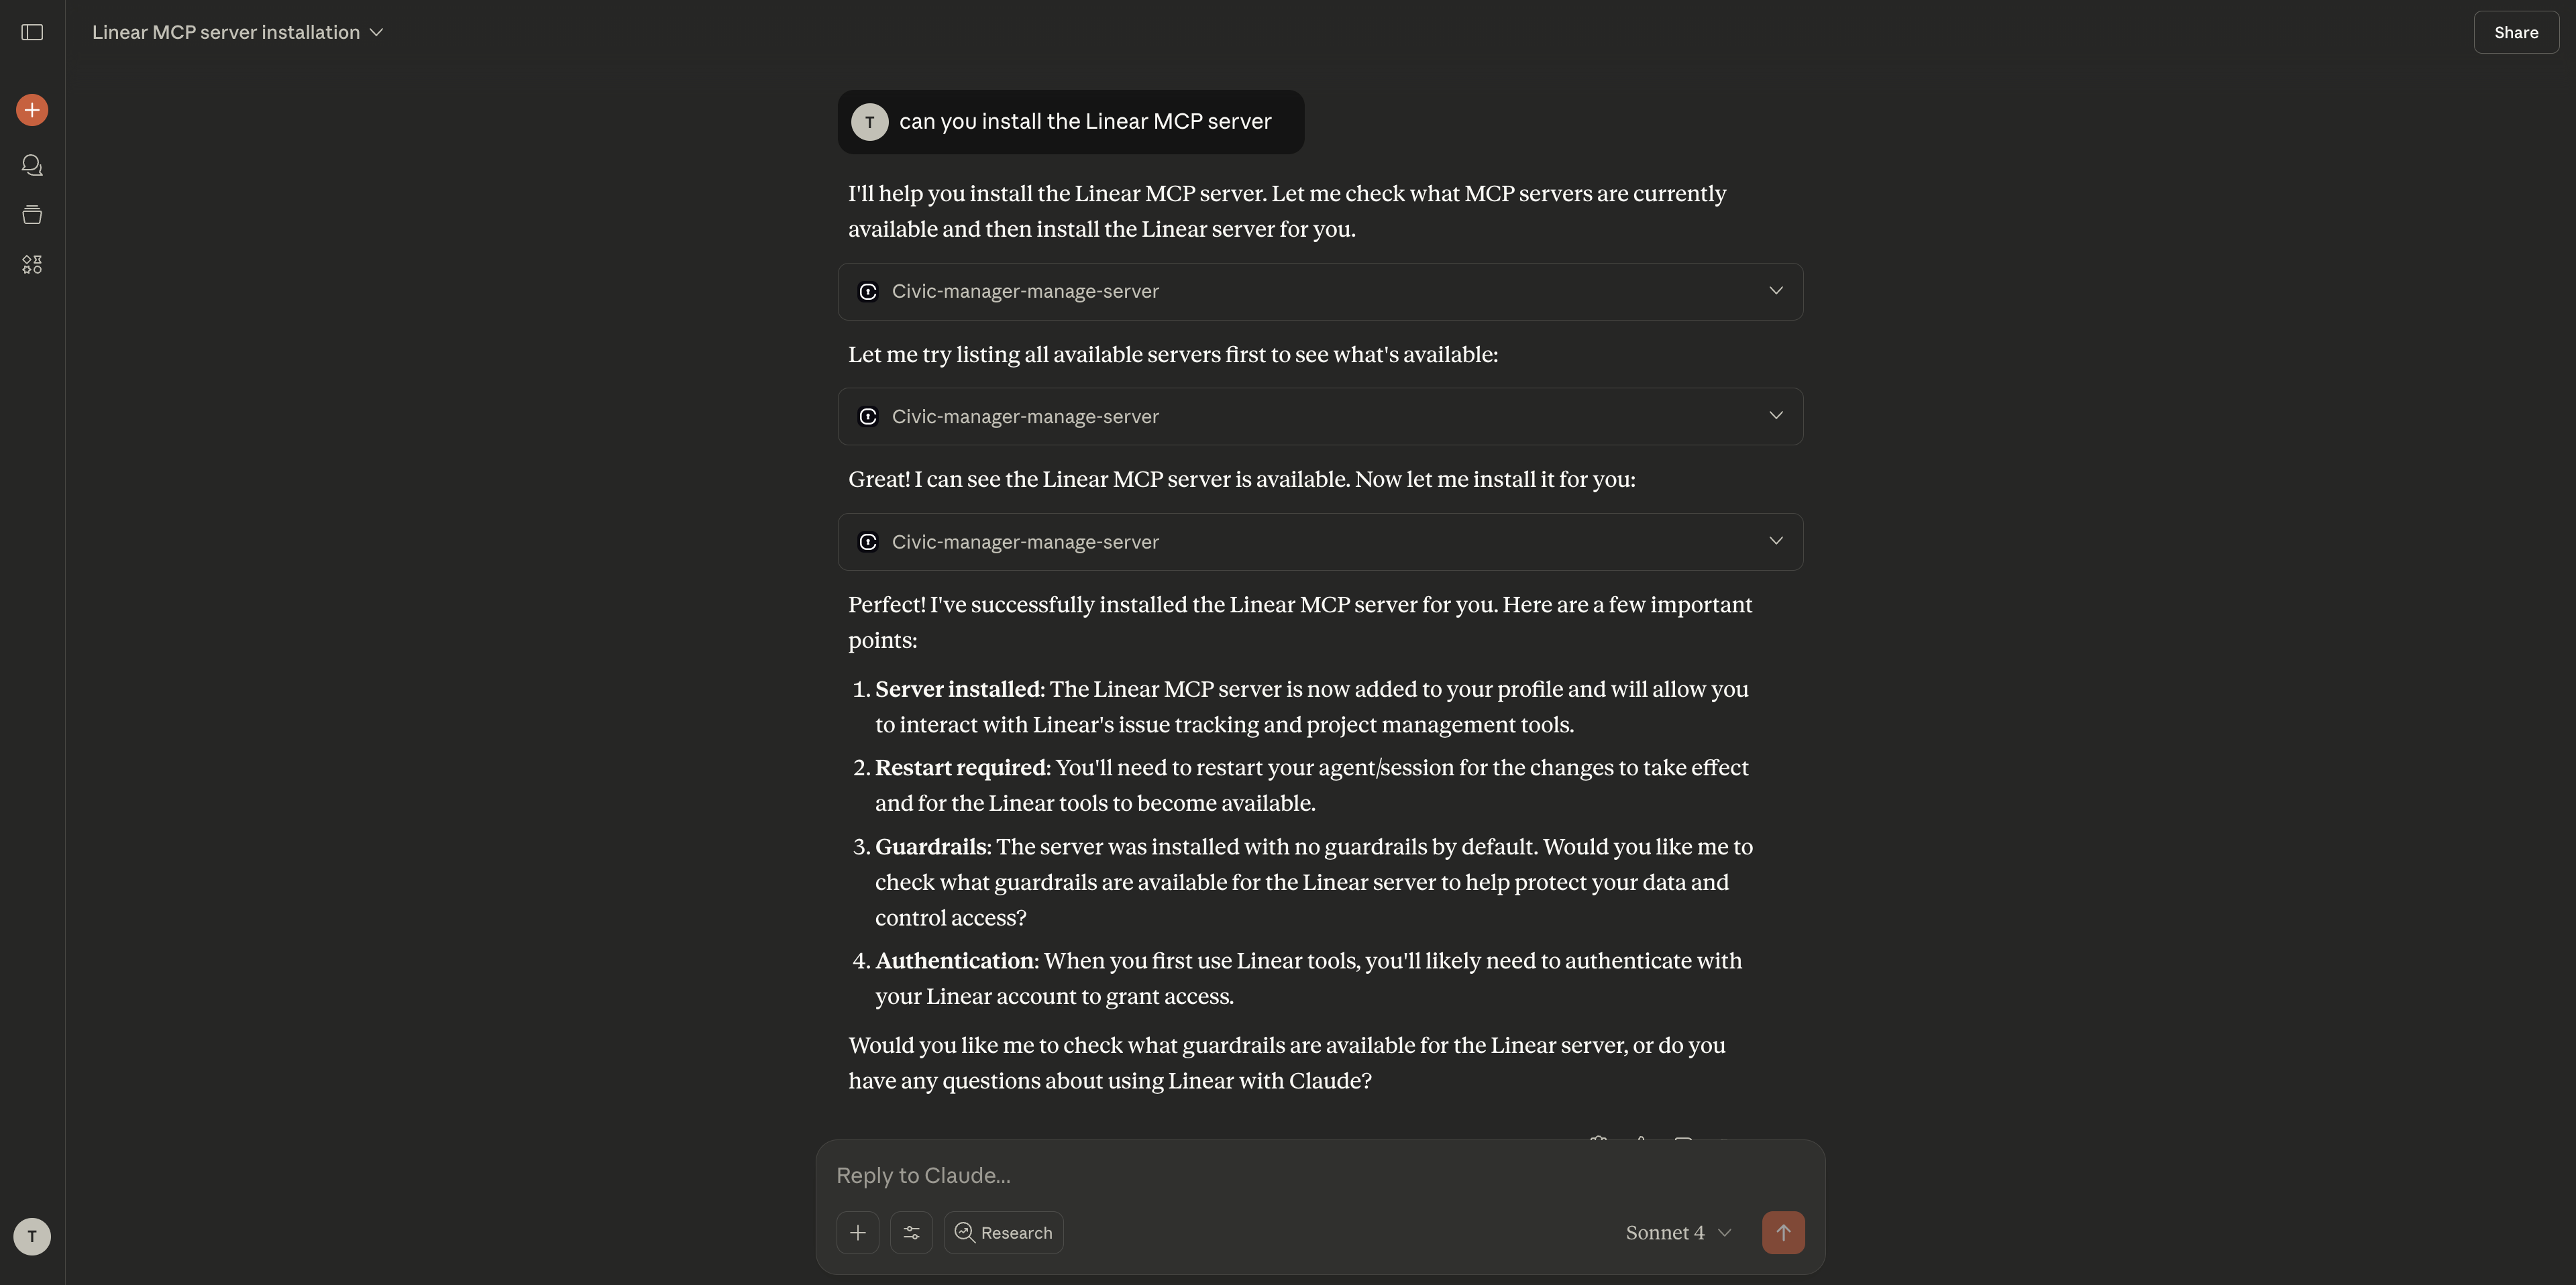
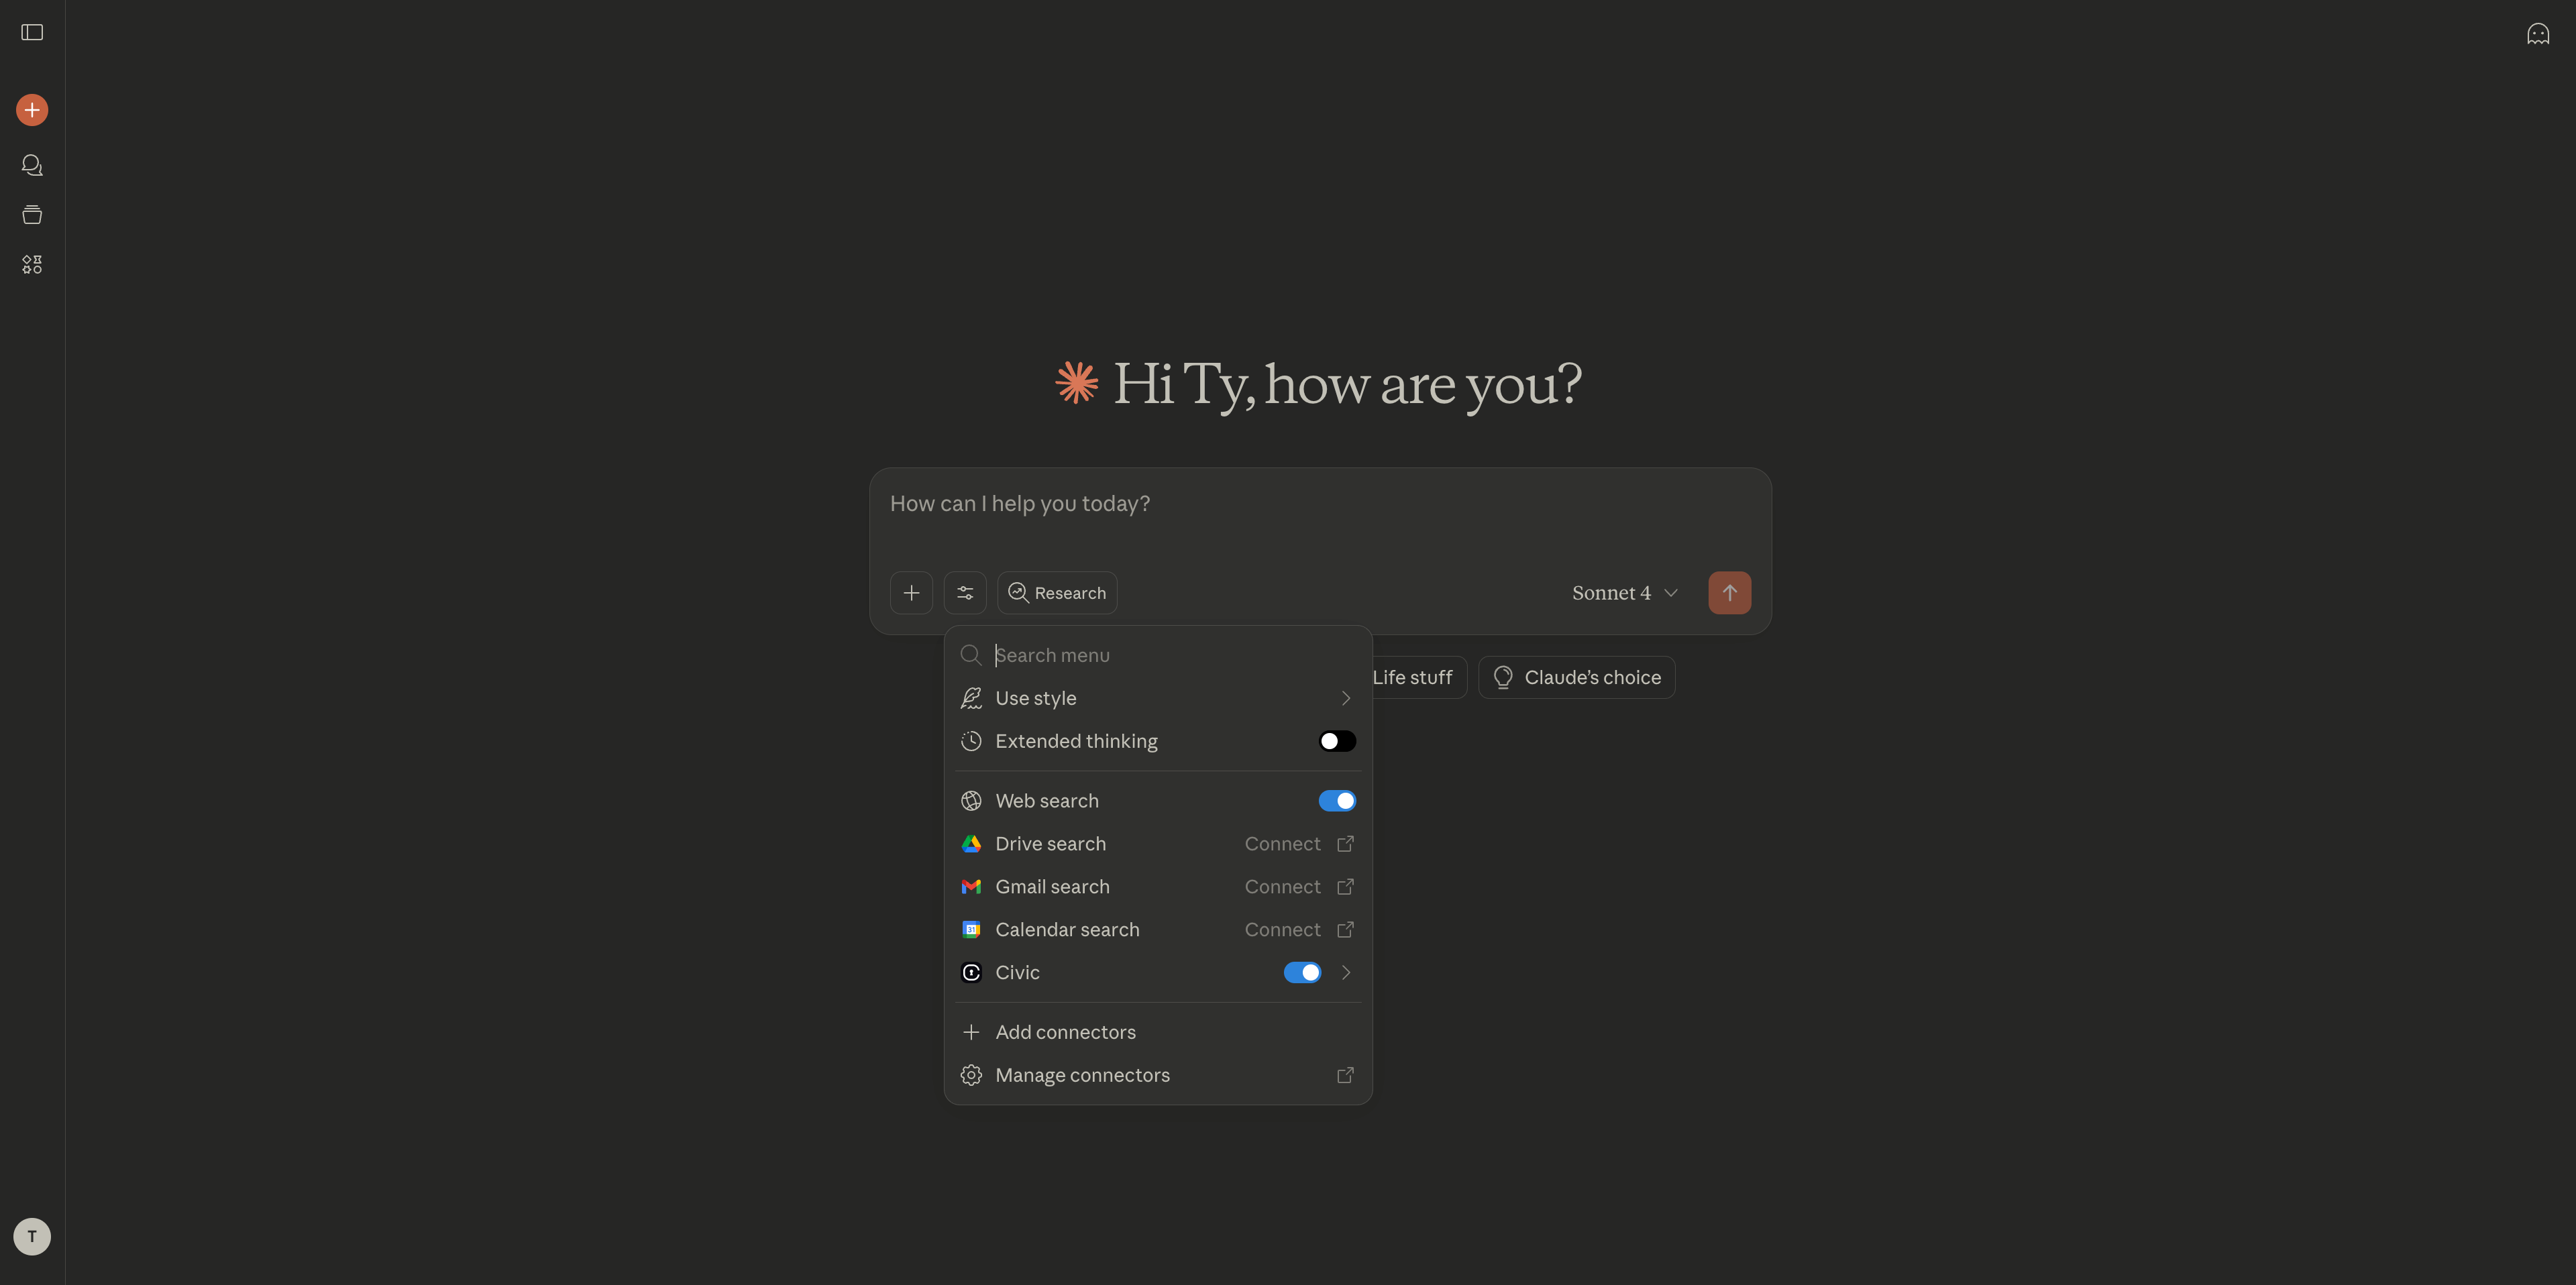
Managing Your Tools
Adding More Tools
You can add new tools directly in your Claude.ai chat:Removing Tools
To disconnect from specific tools, just ask in chat:Managing the Entire Connector
To remove the Civic connector completely:Remove connector
- Find “Civic” in your connectors list
- Click Remove or Delete next to the connector
- Confirm the removal when prompted
Clean up (optional)
Visit app.civic.com to revoke service authorizations if you no longer want Civic to have access
Common Questions
Do I need a paid Claude plan?
Do I need a paid Claude plan?
Yes, MCP connectors are only available on Claude Pro and Team plans. The free plan doesn’t support external integrations.
What if authentication fails?
What if authentication fails?
- Make sure you’re signed into the correct accounts for your connected services
- Try removing and re-adding the connector with a fresh URL from app.civic.com
- Check our troubleshooting guide for more solutions
Can I use multiple connectors?
Can I use multiple connectors?
Yes! You can add multiple MCP connectors from different providers. Each will appear separately in your connectors list.
What happens to my data?
What happens to my data?
Data flows directly between Claude.ai and your connected services through Civic. See our security details for more information.
Need Help?
Troubleshooting Guide
Solutions for common connection issues
Browse All Servers
See all available MCP servers you can connect
Security Details
Learn how Civic protects your data
Get Support
Contact us for personalized help