Claude Code Setup
Claude Code supports direct HTTP Streaming connections to Civic — no local bridge required. Follow the steps below to connect in a few minutes. Hub Bridge is also available as a fallback if needed.
Overview
Claude Code (Anthropic's command-line coding assistant) uses Model Context Protocol (MCP) to talk to external tools. Claude Code supports direct HTTP connections to Civic — no local bridge required.
Prerequisites
- Anthropic Claude CLI (
claude) installed and authenticated - A Civic account — create one free at app.civic.com
How authentication works
Civic supports two methods depending on how your client connects:
| Client type | Method | How it works |
|---|---|---|
| Interactive clients (Claude Desktop, Cursor, VS Code, Gemini CLI, Goose, Windsurf) | OAuth | When you connect, your client opens a browser window to app.civic.com. Sign in once — no manual token needed. |
| Automated agents (LangChain, custom scripts, OpenAI SDK, Anthropic SDK) | Civic Token | Generate a bearer token at app.civic.com → Install → MCP URL. Pass it as an Authorization: Bearer header. |
See Get Your Credentials for full details.
Quick Setup
Claude Code supports two connection methods. Choose the one that works best for you:
Direct Connection via HTTP
Claude Code now supports direct HTTP connections to Civic without needing a local bridge.
- 1Register the Civic server with HTTP transport
Run this command to add Civic via HTTP:
claude mcp add --transport http civic https://app.civic.com/hub/mcpThis configures Claude Code to connect directly to Civic over HTTP.
- 2Launch Claude Code
Start the Claude CLI session:
claudeTip: add the
--debugflag if you want to watch MCP logs while connecting. - 3Connect and sign in
Inside the Claude session, run the MCP menu command:
/mcpSelect the
civicserver. A browser window opens to app.civic.com — sign in with your Civic account. Once complete, Claude confirms the server isconnectedand ready to use.
Local Bridge Connection
What is Hub Bridge? Hub Bridge (@civic/hub-bridge) is a lightweight local proxy that runs on your machine via npx and bridges stdio-only MCP clients to Civic's remote HTTP endpoint. Use it when your client doesn't support remote HTTP MCP connections natively. If your client supports HTTP/Streamable HTTP MCP — use that instead (it's simpler and has no Node.js dependency).
Use this method if you run into issues with the HTTP transport path above.
- 1Register the Civic server
Run this command to add the Civic Hub Bridge MCP server:
claude mcp add civic "npx @civic/hub-bridge"This installs the bridge (if needed) and stores the connection in your Claude MCP config.
- 2Launch Claude Code
Start the Claude CLI session:
claudeTip: add the
--debugflag if you want to watch MCP logs while connecting. - 3Connect and sign in
Inside the Claude session, run the MCP menu command:
/mcpSelect the
civicserver and follow the browser sign-in flow to authorize Civic. Once the login completes, Claude confirms that the server is available for tool execution.
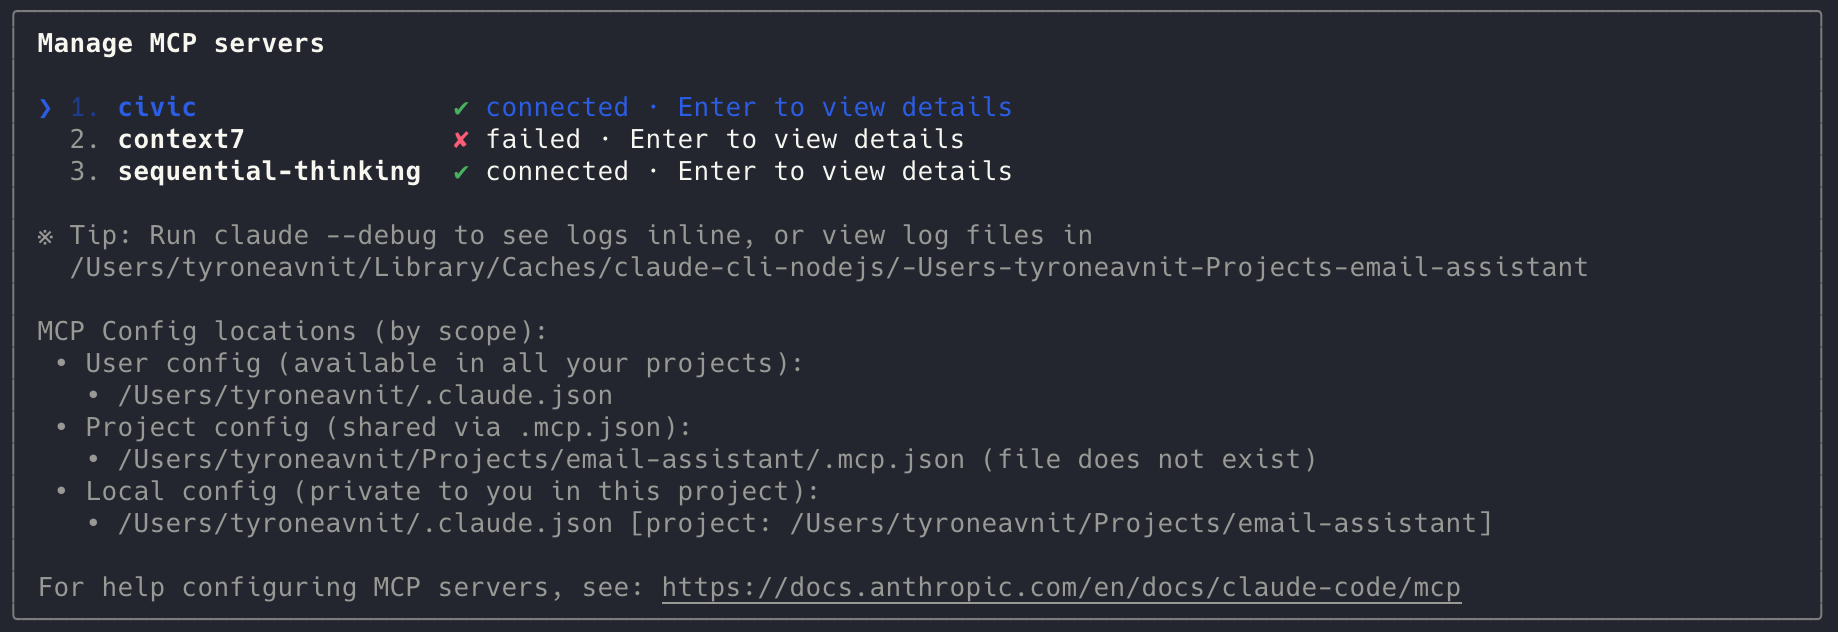
Verify the Connection
- In Claude, run
/mcpagain to check thatcivicshows asconnected - Test a Civic command (for example, request a tool list) to confirm the session is authorized
Troubleshooting
- If the connection shows
failed, re-runclaude --debugto view detailed logs in your terminal - Ensure you have an active Civic session in your default browser; the MCP flow opens a new window for login
- Delete and re-add the server with
claude mcp remove civicfollowed by the setup command if you need to refresh credentials